How to De-Winterize Your RV | RVs of West Texas | Baird, TX

Once winter is over, the camping season is finally back in full swing. If you took the time to carefully winterize your RV, you need to take a few steps to de-winterize it as well.
Charge the battery
After going unused all winter long, your battery will need to be charged. Keep in mind that, depending on the size of your batteries, this process may take up to a few days so.
Flush the antifreeze
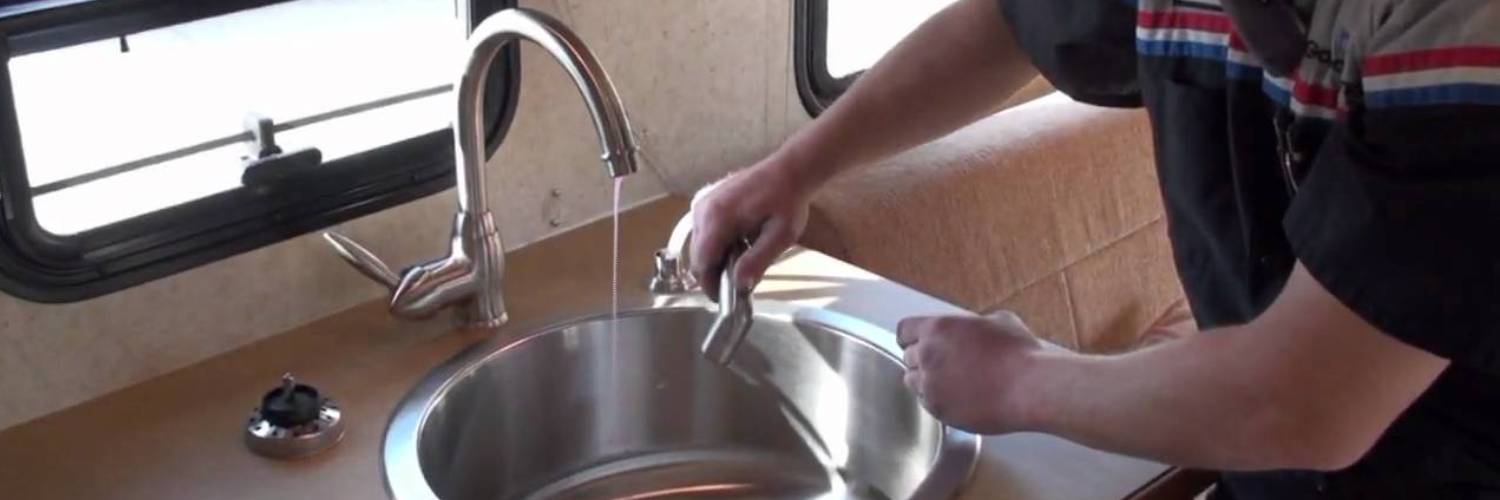
All that antifreeze you worked hard to pump into your water system now needs to be flushed. Attach a hose from one of your water faucets to your RV’s water hookup, and turn on all the faucets. Let water flush through the system for a minimum of 10 minutes until the water coming out of the faucets is completely clear. While you wait, be sure to flush the toilet multiple times.
Inspect the tires
After a few months in storage, the pressure of your tires will likely be lower than specified in your owner’s manual. Add air to your tires and examine their tread. Look for cracks and other signs of wear on all tires, including the spare.
Change the filters
If a filter exists, change it! Go around your RV and change all filters, including air and water filters. You can even rinse off the window screens, which act as bug filters in the summer.
Check for water leaks
A flashlight can come in handy for this step. Get under your sinks, and check for any leaks. It’s better to catch those early before they can lead to permanent damage.
Examine the hose lines
Get your propane tanks out of storage, and put them back on their designated mounts. You’ll also want to check they’re properly connected and that the hose lines have no leaks. One way to do this is to slightly open a line, then put a soap-soaked sponge at the connectors’ end. If air bubbles form, you may have a leak.
If you need any help de-winterizing your RV, call RVs of West Texas or visit us in Baird, Texas. We’re more than happy to help!


